MySQL
The MySQL integration synchronizes metadata from your MySQL databases into the data lineage graph.
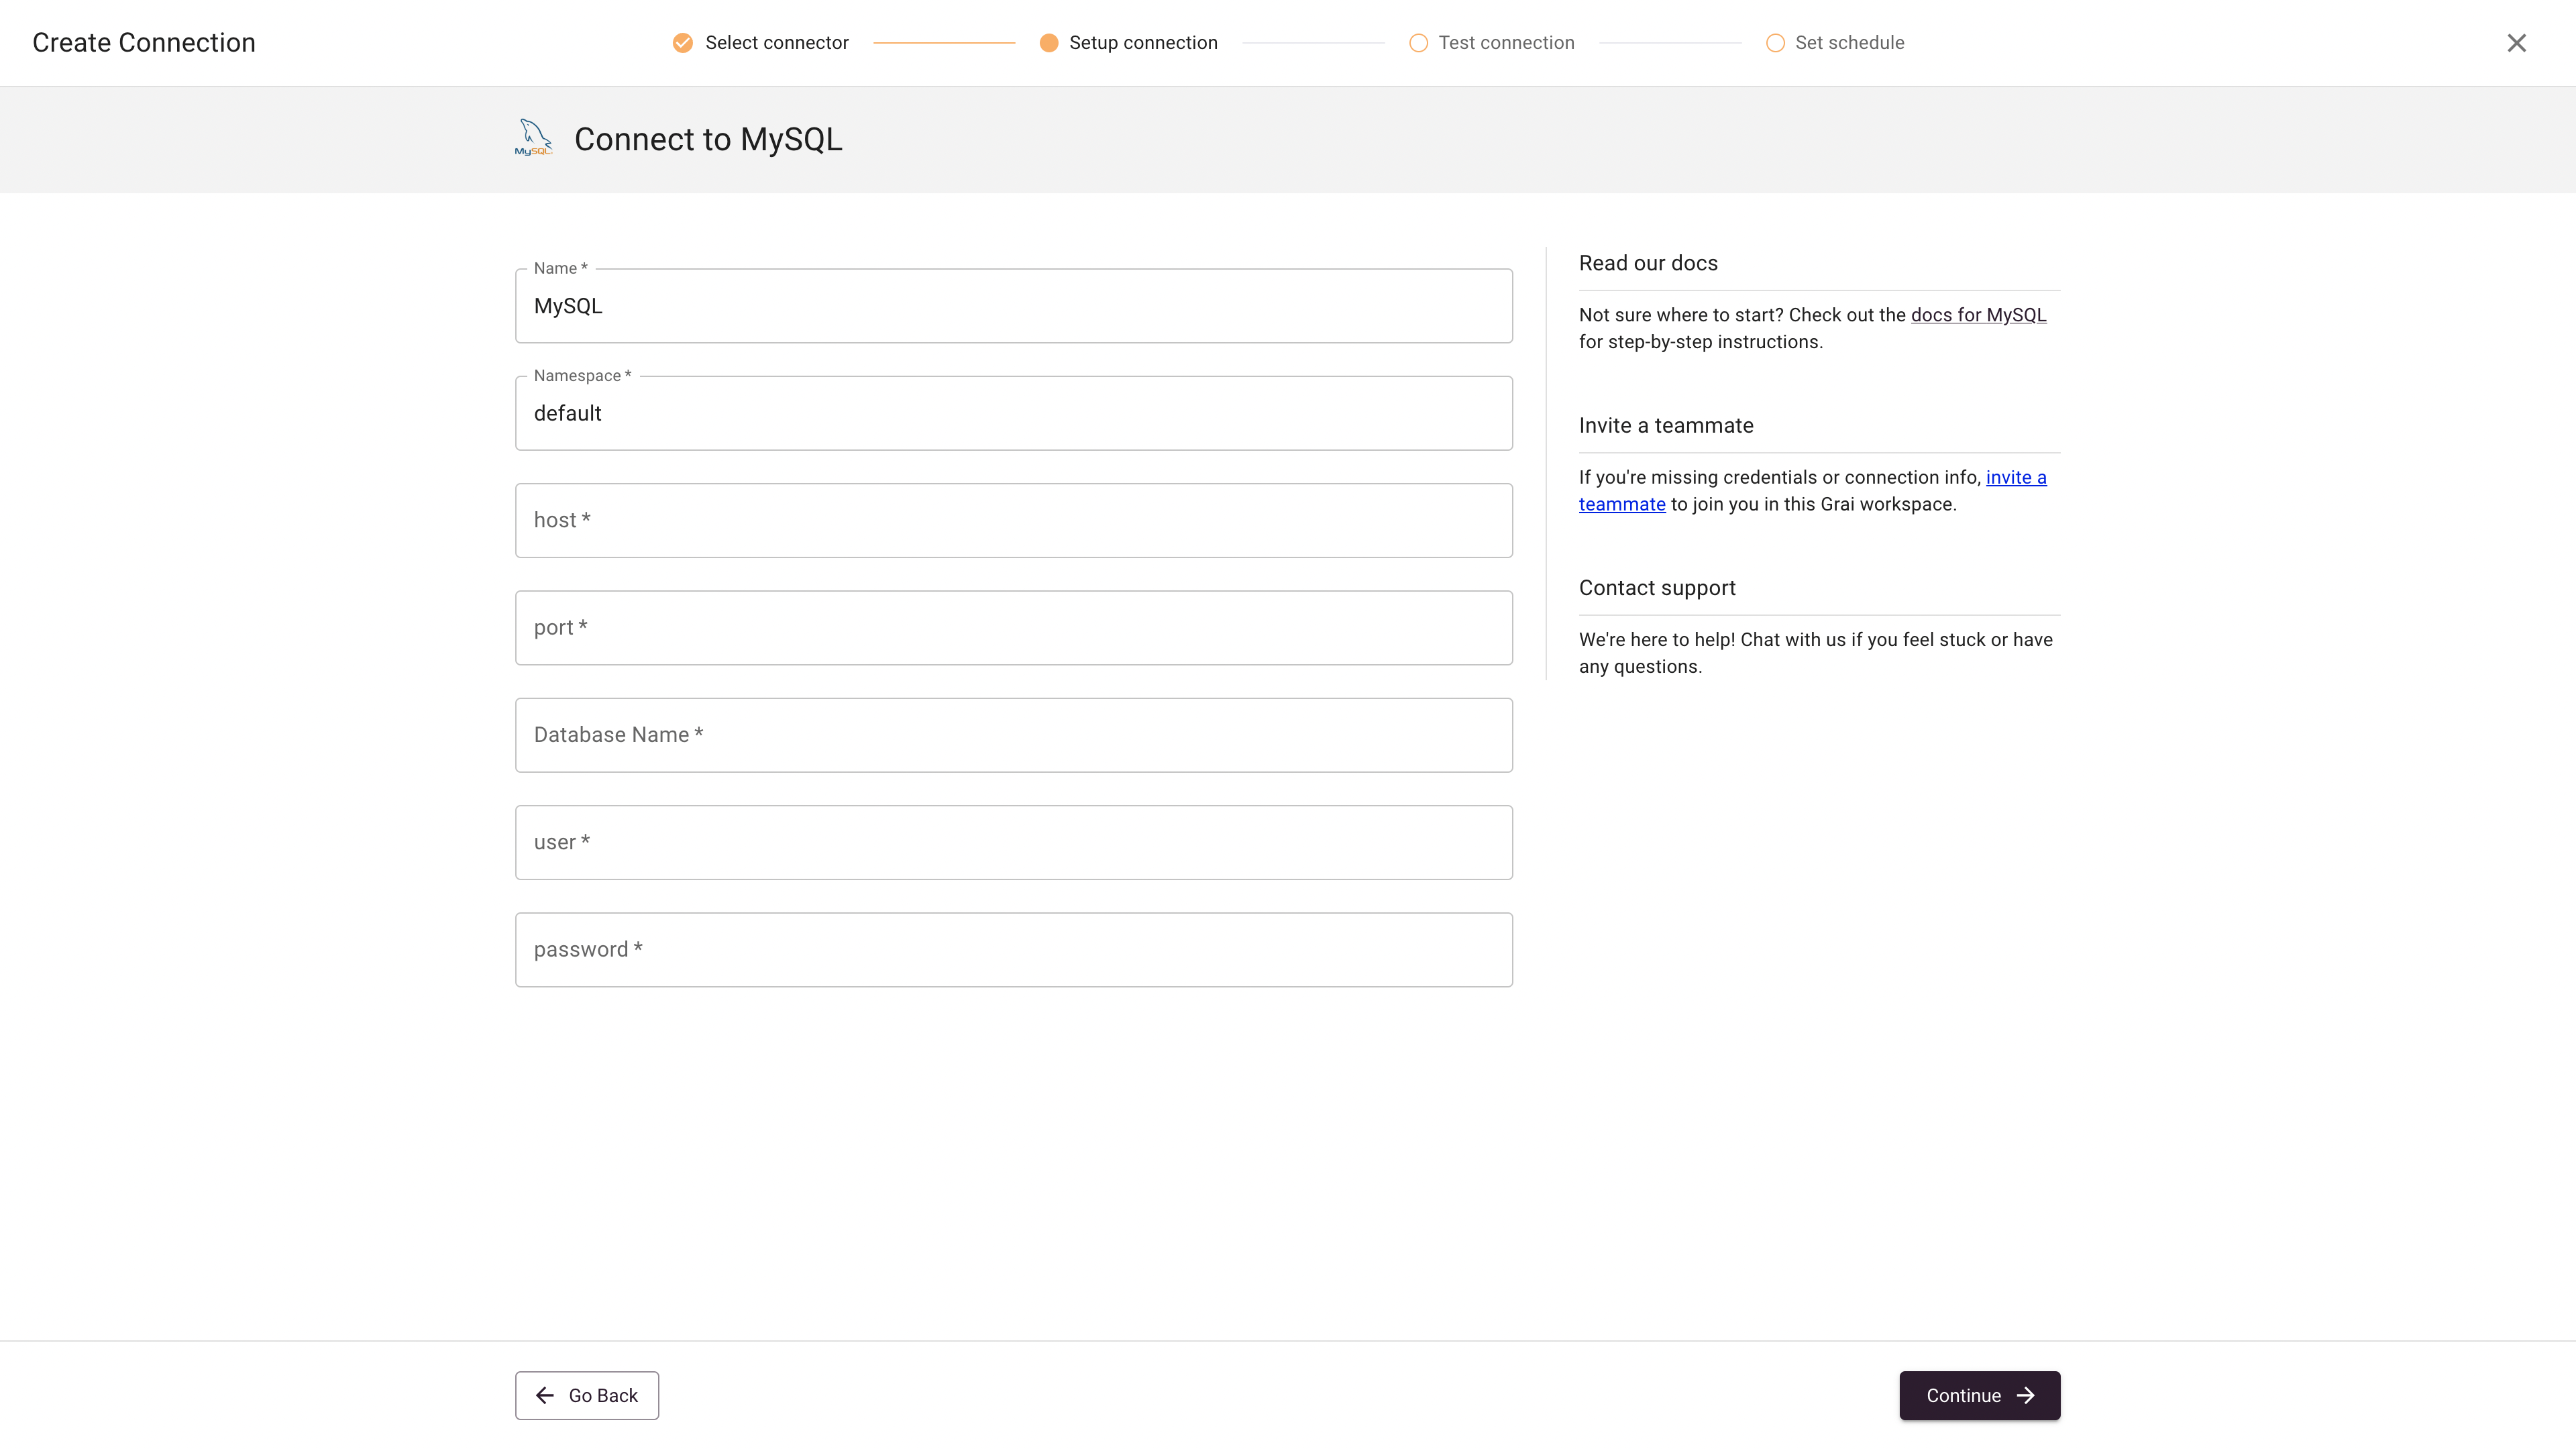
Web App
Fields
| Field | Value | Example |
|---|---|---|
| source | The name of the source, see sources | my-source |
| Name | Name for connection | Postgres |
| Namespace | Namespace for the connection, see namespaces | default |
| host | Database host | sample-database.cudyk77thtpt.us-west-2.rds.amazonaws.com |
| port | Database port | 3306 |
| Database Name | Database Name | jaffle_shop |
| user | Database user | |
| password | Database password |
ℹ️
Your database will need to be accessible from wherever you are running the Grai server. If you are using Grai Cloud your database will need to be accessible from the internet.
Python Library
The Metabase integration can be run as a standalone python library to extract data lineage from your instance of MySQL.
The library is available via pip
pip install grai_source_mysqlMore information about the API is available here.
Example
The library is split into a few distinct functions but if you only wish to extract nodes/edges you can do so as follows:
  from grai_source_mysql import MySQLIntegration
  from grai_schemas.v1.source import SourceV1

  source = SourceV1(name="my-source", type="my-type")
  mysql_params = {
    "username": "my-username",
    "password": "my-password",
    "host": "https://prod.yourdomain.com",
    "port": 3306
  }

  integration = MySQLIntegration(source=source, namespace="metabase", **mysql_params)

  nodes, edges = integration.get_nodes_and_edges()