Enhanced dbt Tests
Grai exposes many of our pipeline tests, including those defined in dbt, to be run anywhere else in our data stack. That means, whenever we change upstream data assets like our production database we can validate that those changes will not break our data pipelines.
This guide will walk you through configuring your data lineage graph from scratch using Postgres as our production database and Google BigQuery as our data warehouse with data transformations managed in dbt.
Finally, we will configure automate testing against the production database using GitHub Actions.
This guide is written based on using Grai cloud (opens in a new tab), however, it will run equally well on your own self-hosted implementation.
Connect Data Warehouse
Starting on the home screen selection Connections from the top of the screen and then Add Connection.
Now Choose the Google BigQuery connection button.
Fill out the the connection details for your BigQuery data warehouse. This guide uses test database credentials, so that you can easily follow along. Substitute your own credentials as needed.
Notice the Namespace field, this is an important part of the Grai lineage structure. This is how you manage two connections pulling from the same source. For more details checkout the Namespaces section.
| Field | Value |
|---|---|
| Namespace | default |
| Name | Google BigQuery |
| project | grai-demo |
| dataset | grai_bigquery_demo |
| credentials | Copy and paste from below |
| Log Parsing | False |
| Log Parsing Window |
Sample BigQuery Credentials
If you want to use your own BigQuery instance you can follow the instructions here (opens in a new tab) to create a service account and then copy the credentials into the form.
{
"type": "service_account",
"project_id": "grai-demo",
"private_key_id": "808cdbe329203ca6823ca4a5298a8f1c17430a5b",
"private_key": "-----BEGIN PRIVATE KEY-----\nMIIEvQIBADANBgkqhkiG9w0BAQEFAASCBKcwggSjAgEAAoIBAQCbGvNvBJMkv7tW\njLeT1U/Ds7/zO5rd+Q8Fm3QHjvKp5VX1HTqo4mGqUnpavSlnf9acUHRLKXIMeuzm\nexVWpZHXkGvMf3dR632ZkiYHopPMCuid5iQvDD5jp3wFgp2sq438wXnR0t+hnOoF\nyk4yEfCKkdbWm4wvqOpVivwjv5Up+wV9GHIYi3gIWJsm0Ftp4ImDOx/FPNGjLWs9\nxpXWCe9YVUO4ZFl0quThDMyuUsWi9eSF7y2GeVNaJA9Lqzj+Ybvbor8qe4PKcFS3\n+pu9CFqIcsBU9n0xOIrkvIQt06JIL7LsBH0LrBj/LJaxIaoJYhKnJOhVRVb7/WmD\nWGYUMa1/AgMBAAECggEAAgUcVX5MQkbC9FIZ0/GLu+M75TmJ/0kOkoafQLfyXhcQ\nAwSx7mAgYHz5ffQHtYLbMybzFMWB6Dqzmh7RPNMkLpgBZ2Tjk2wLMzRNjXznCtm7\nhM7p+rjgmSClw1abohOL4lZMtVhXND4caB3l3c4RAWT71MiqzzYWcy2/seF9WlIW\n4mu1ruqUJTCpXb46mlPaR1N2J89gz32R06aiuMfrR3Yt0v5Rj+vnNZA+srLTJX19\n6J4R2UedJ7IZIL9QBbZHxumY0jgw/GbSFV40kBk+wVuJ0E1pbX8I0gLxmMR/EwFk\n5YyReNzEsocPDalF6rcmcSvqNZ9zsiybLkpdQ9HkDQKBgQDRQOZnfJjQd3o4rXqa\nDe4FhOD3J3QxqP/hPtMU5IOIttZQHX32koTZZyBNgMtS+heHCIGnDpm1ram8u7vw\nXy+1OcAx9eZs5pFuM/zTD5fD68/8bZe6X1+NQ31ENXa5jkGTaXKx+MUtp5xwi4jx\ngRTcSKDt+PEmu6fr/OJ2O9bMRQKBgQC9wVdaWxT6uBGoY4+KTZBAwMrKzZ0/SRky\npZR13uLqMOFlh/X3bq56nVSl4yMDljsT0lFXRctjsTNwc+h0QYXc4fXT5YtHmksI\npv90TYQg2qK2wQ9bhHldTCJsTFGPCxLlMD8AyL6PK9hCuatxmYc0LFF5OXy8Itlb\nqbC1c4co8wKBgCflNsh+QehlDyFlOd3LUBkvR3D3zbh2HysDvlzaYJWdPmkR5mUv\ndDK67ba5GorcccXmAkomh3nS/WylYmSm0UK9Gv6rgl4663lWYhqfe3D4MbRP9MCs\n1FvrhSOPCe7Ax5HiZeK2qmlU7oeqotZgpOiG1F/quZeH6bEditO9/ur9AoGAOcrA\nyAwlf5bACgEInp6w6IfPO6UT10p0GjDD3oJbqefpPfsCtrFHAqEYPs3GxDjlFUxg\n6augHmTBveYPThkGpBdNv5ORr+UWJTR3aPyS2U69b9usybq3G+ssML+tt1swDg17\nosmBACniW7AgvyB7RTCaP8l6a/JRMNGluB3PdHECgYEAnB7nYBirbRkpDrRWfbiV\n6X9iV0284NaLqLIU9Y1USCGAnv38bxlz+kNtHUX2QKpnoXwbXVr/yHH9b92teCLx\nnL30lTZPVy9dweuybgdIwGNlyq28pirNbLXYH/zRo9YMJ0KzArpgBi8U5w1mNud3\n0MgqDH8AZvYngs7700WDW+o=\n-----END PRIVATE KEY-----\n",
"client_email": "grai-352@grai-demo.iam.gserviceaccount.com",
"client_id": "113796530500416825812",
"auth_uri": "https://accounts.google.com/o/oauth2/auth",
"token_uri": "https://oauth2.googleapis.com/token",
"auth_provider_x509_cert_url": "https://www.googleapis.com/oauth2/v1/certs",
"client_x509_cert_url": "https://www.googleapis.com/robot/v1/metadata/x509/grai-352%40grai-demo.iam.gserviceaccount.com"
}
Press Continue - if you see an error double check your provided connection credentials.
For now we won't set a schedule for this connection. However you could set your connection to run every day ensuring your lineage is up to date.
Press Finish to complete setup. Once your new connection is created you should see the connection page. Press Refresh in the upper right hand corner to run your connection and populate your data lineage graph.
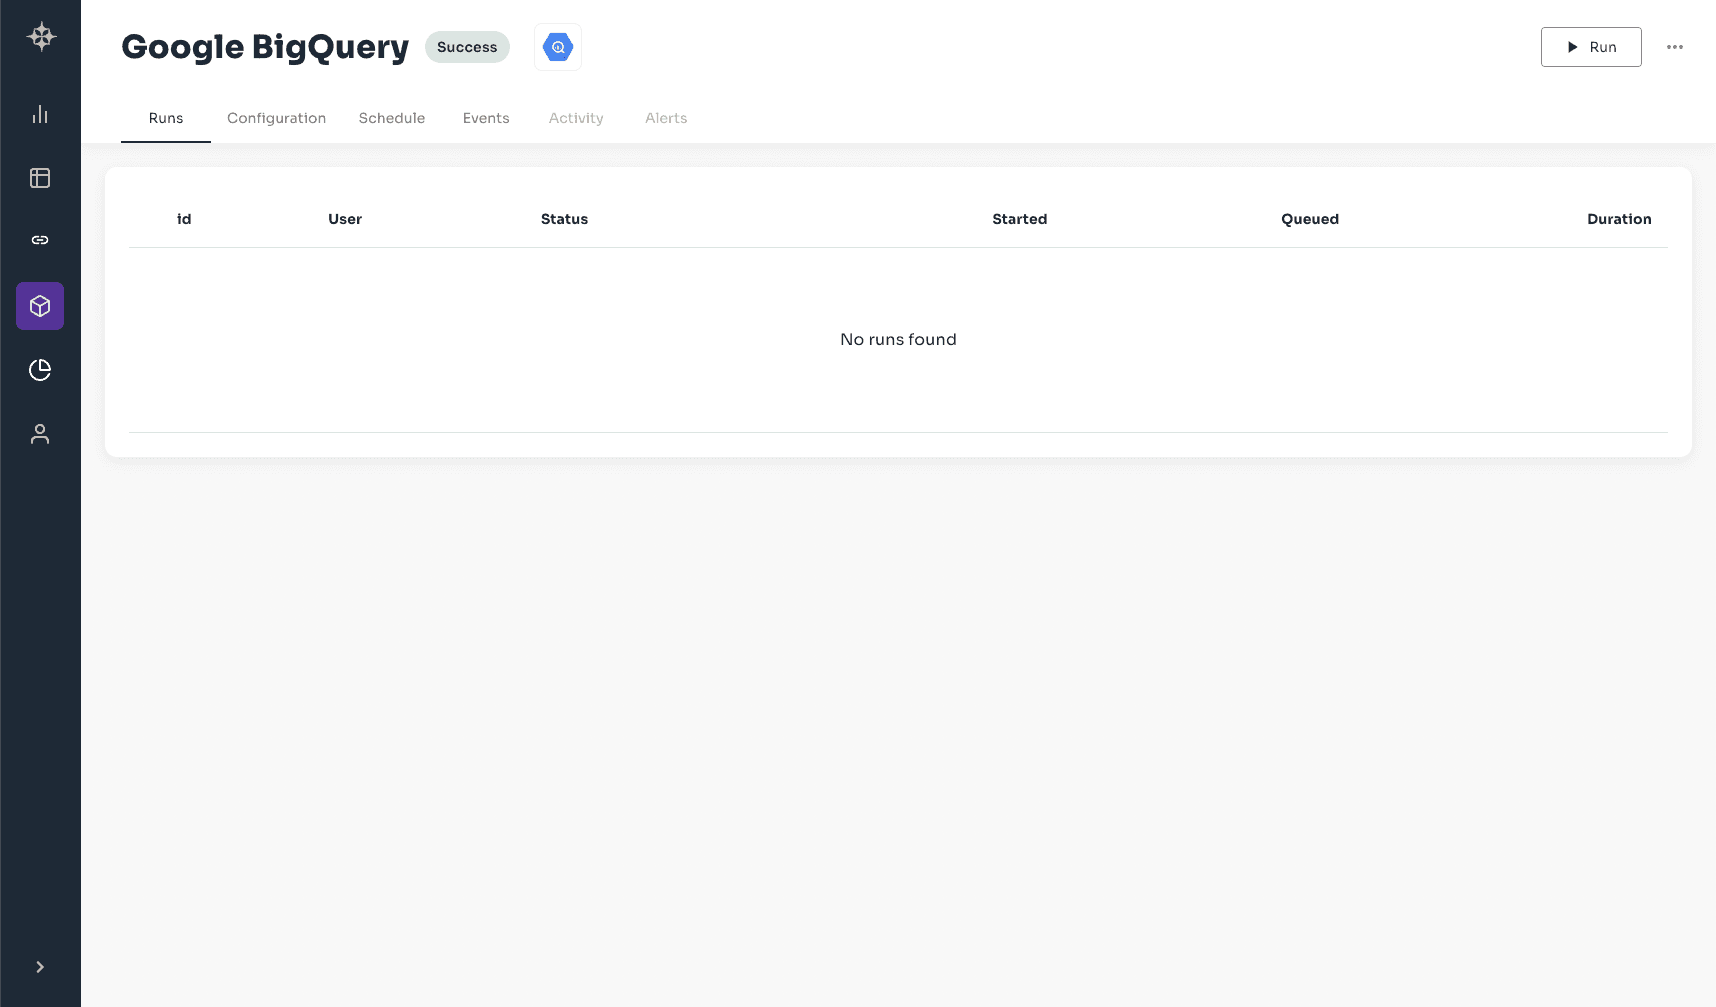
The run will take a few seconds to run and then you should see the run complete successfully.
Now that the connection has completed running you can go to the Graph page to see your BigQuery tables.
It will likely look something like this
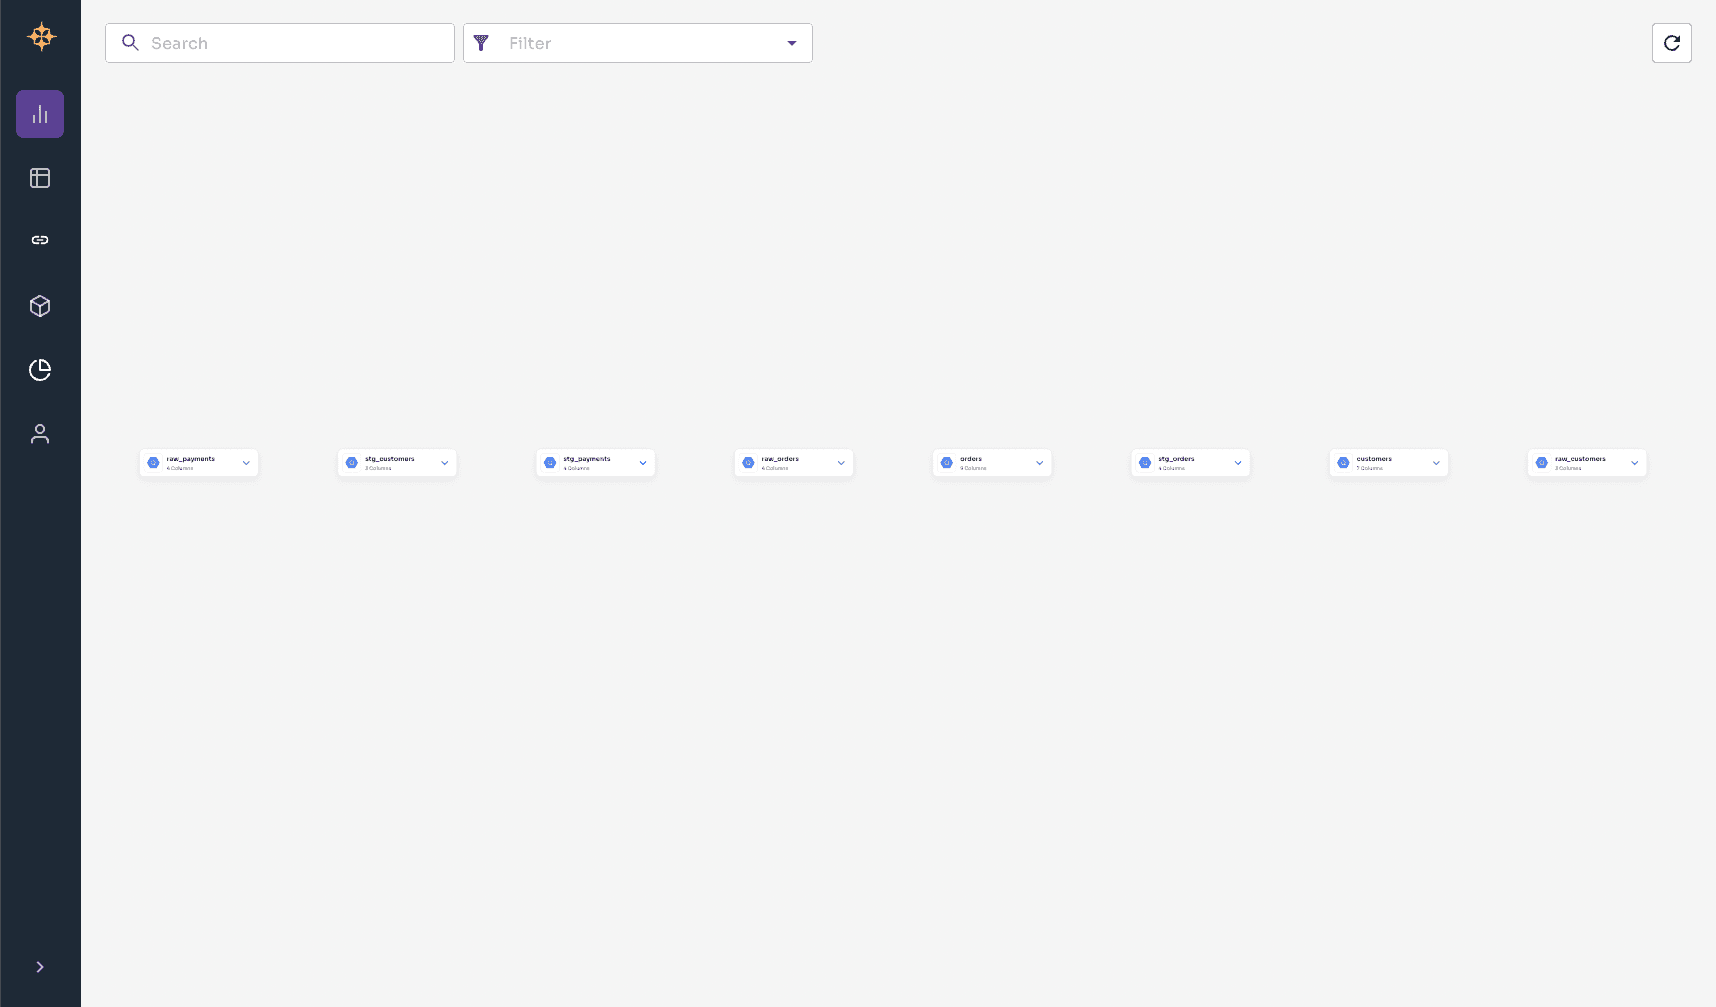
Currently, there are no connections between the tables, this is because BigQuery doesn't have any foreign keys setup.
Import dbt Manifest
Again go to the connections page and click "Add Connection." This time, choose the dbt connection.
Leave the Namespace value as default for now.
For the purposes of this demo, we've created a manifest.json (opens in a new tab) file you can use which
was created by running dbt compile on the source repository (opens in a new tab).
Using the same Namespace value for both BigQuery and dbt ensures the tables
and columns are linked together.
Press Finish to upload the file and run the import. This should take a few seconds before completing successfully.
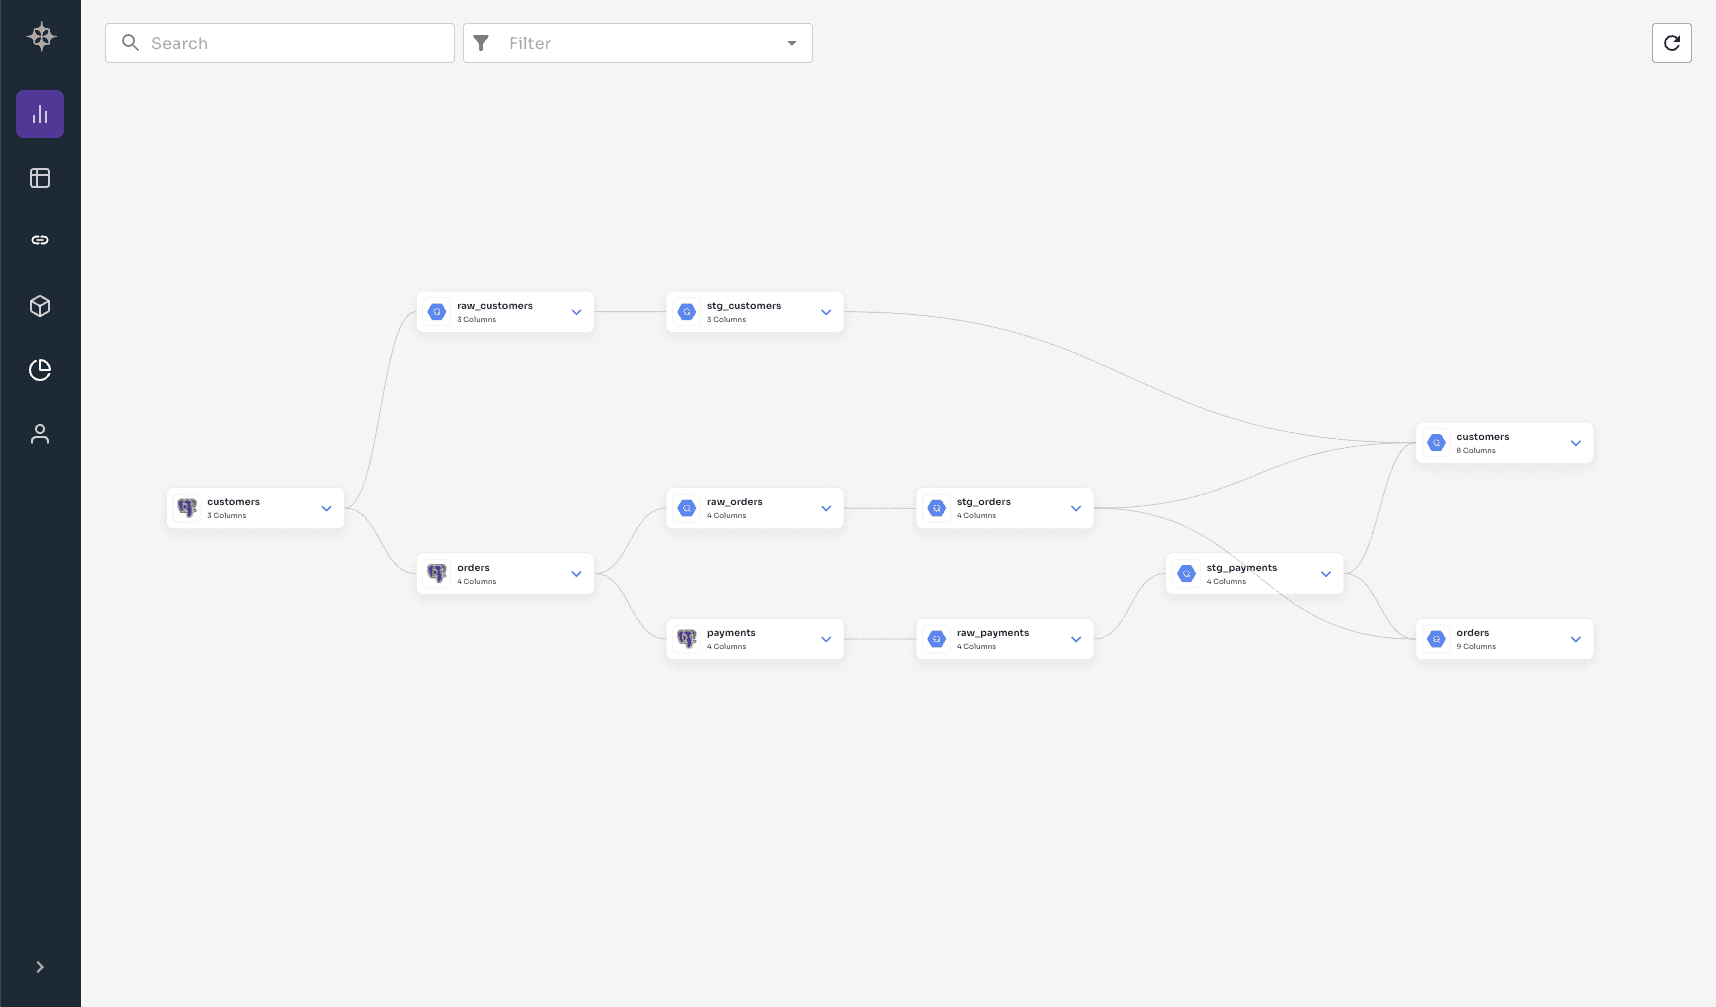
Finally, check out the graph view again. You should now see that your BigQuery tables have been joined together based on the dbt metadata. For example where one dbt model depends on another Grai has created a link between the two tables.
Connect the Production Database
We will be using Postgres for our production database in this instance so again go to the connections page, click "Add Connection" This time, choose the PostgreSQL connection.

Enter the following values
| Field | Value |
|---|---|
| Namespace | prod |
| Name | PostgreSQL |
| host | sample-database.cudyk77thtpt.us-west-2.rds.amazonaws.com |
| port | 5432 |
| Database Name | jaffle_shop |
| user | demo |
| password | zfYD%qW2VOfUmK1Y |
You've probably getting the hang of this now, but just in case, press continue. Assuming your credentials are valid, you can press Finish to complete the setup and then run the connection.
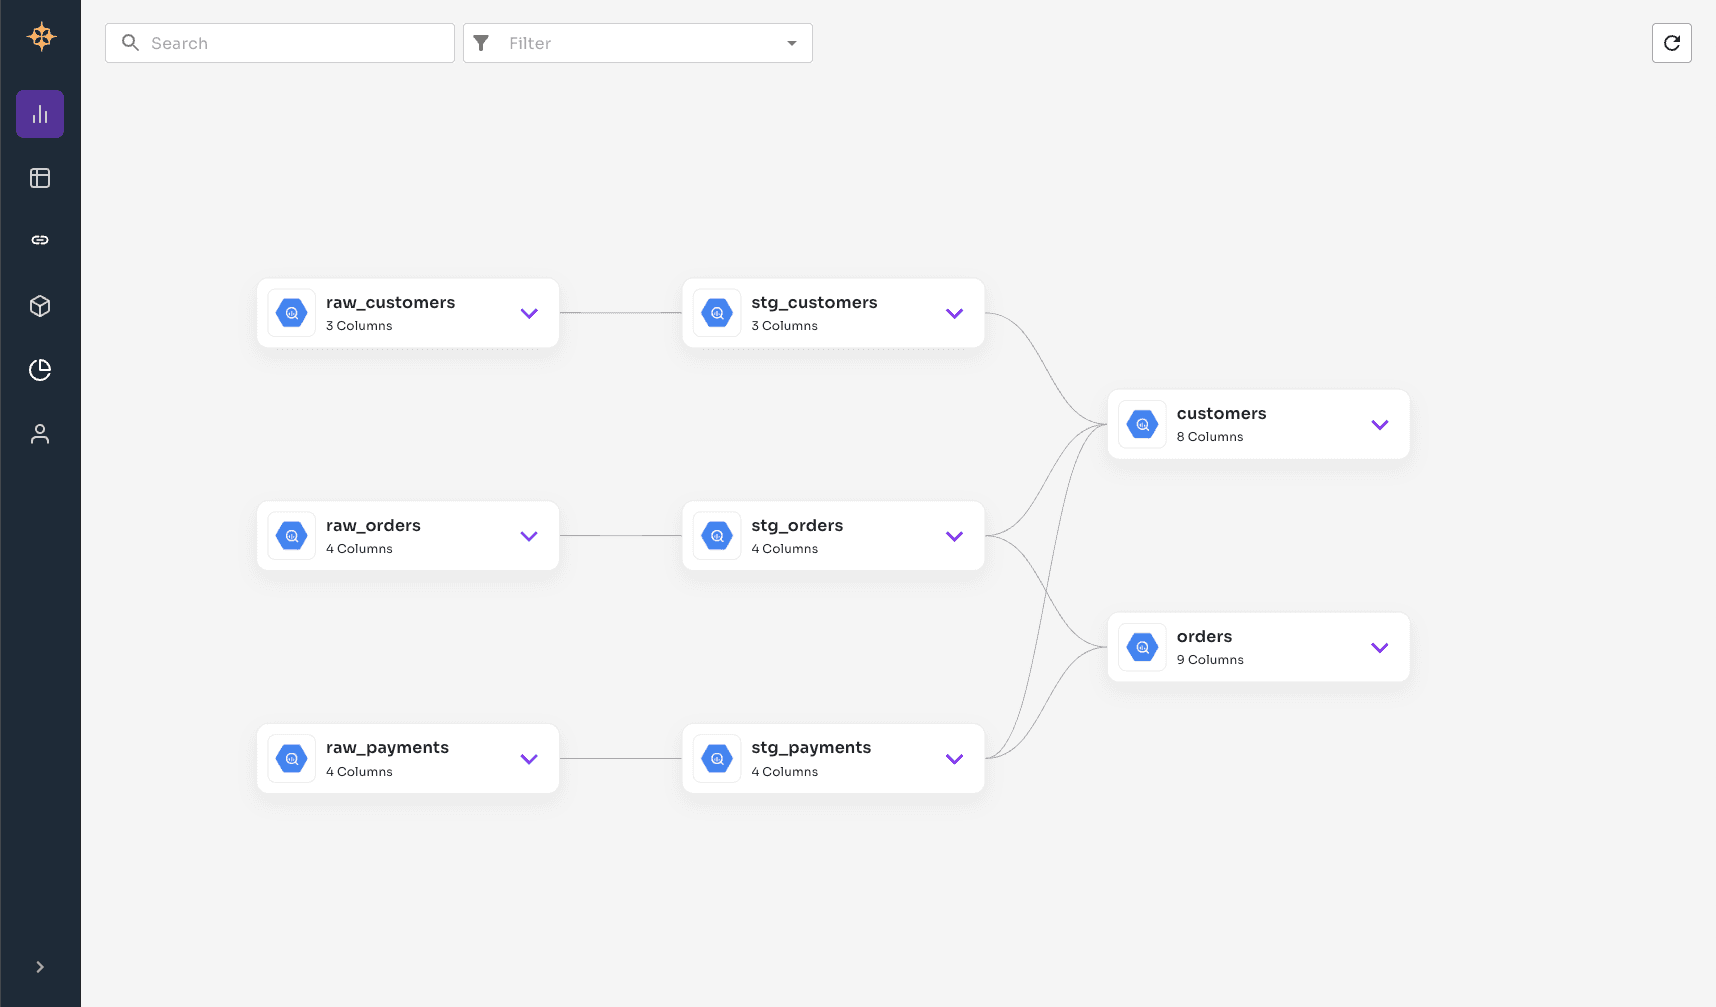
If we check out the Graph page, we can see that the Postgres tables have been added to the graph.
There should be a number of connections between the Postgres tables, these have been produced from the foreign keys.
Connect our production database to the data warehouse
There won't be any links between the Postgres tables and the BigQuery ones. Typically, an ETL tool like Fivetran would be used to transfer data between the production database and the data warehouse but for the purposes of this demo we will setup these edges using yaml files.
Just like before, Connections -> Add Connection -> YAML File
Again, leave Namespace as default. Upload the edges.yaml (opens in a new tab) file from the source repository (opens in a new tab). Press Finish and check out the Graph page to see the results.
This combination of integrations, and yaml files, allows you to create a complete data lineage graph for your data warehouse no matter what tools you use.
Setup GitHub action
You will need a GitHub repository for this stage. Forking the example repository might be a good starting point jaffle_shop_bigquery_demo (opens in a new tab).
Now, we are going to use GitHub Actions to automate running tests against our dev database using Grai.
Create a .github/workflows directory in your repository on GitHub if this directory does not already exist.
In the .github/workflows directory, create a file named grai-actions-demo.yml.
You can find more information about workflow yaml files in GitHub's documentation, see Creating new files (opens in a new tab).
Now copy the following YAML contents into the grai-actions-demo.yml file:
on: [pull_request]

jobs:
  test:
    name: Evaluate Postgres Changes
    runs-on: ubuntu-latest
    steps:
      - name: data lineage check
        uses: grai-io/grai-actions/postgres@master
        with:
          namespace: "prod"
          workspace: [WORKSPACE_UUID]
          client-host: "api.grai.io"
          api-key: [API_KEY]
          grai-frontend-host: "https://app.grai.io"
          db-host: sample-database.cudyk77thtpt.us-west-2.rds.amazonaws.com
          db-user: postgres
          db-password: jnicGnmRdXclhURSRr86
db-database-name: jaffle_shop_devNormally you would use the credentials for the development database that changes with each pull request or commit in order to evaluate your tests. In this case, we've created a sample database for you to use.
To finish this off, we will need to find your Workspace UUID and create an API Key for your Grai account.
API Key
To generate an Api Key in the Web App, navigate to Settings from the Profile Menu in the top right and select API Keys.
Press Add API Key and choose a suitable name, for example demo, then press Save.
You should record the returned key, as it will not be displayed again.
This can be copied into the [API_KEY] slot in the grai-actions-demo.yml file.
In production you should use a GitHub Action secret to store this value, so that it isn't checked into version control, see Encrypted secrets (opens in a new tab).
Workspace UUID
Staying in can be seen at the top of the API keys page you should see a field that says WorkspaceId followed by a UUID value at the top of the page.
Copy that UUID into the [WORKSPACE_UUID] slot in the grai-actions-demo.yml file.
Running the Action
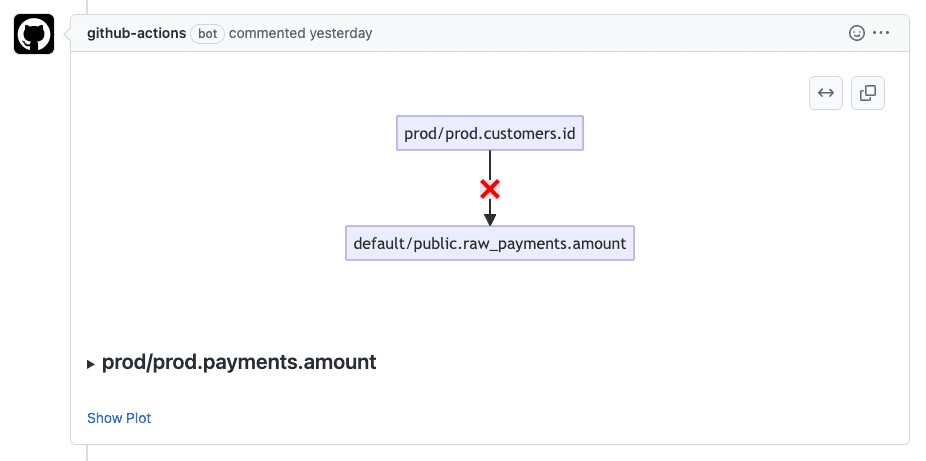
To see the action run you will need to create a pull request in GitHub. Once the action has run, if you have used the demo database credentials, you should see a number of comments on your PR showing some test failures. You can click on the link to view more details on the Web App.
Wrapping Up
In this tutorial, we have shown how to use Grai to create a data lineage graph, and then use that graph to run tests against a development database. We have also shown how to automate this process using GitHub Actions.
If you have any questions or feedback, please reach out to us at hello@grai.io and in the meantime, happy data engineering!